How to use Customized forms outside of Lists

How to use Customized forms outside of Lists
Hi Everyone, it’s been a while. I’m finally having time to write some lines. Hope you will like it.
Table of content:
- Introduction
- Option 1 – Copy link
- Option 2 – Web parts
- Option 3 – Application URL
- Considerations & Limitations
- Hints
- Summary
Introduction
Firstly, let’s make it clear: Why I even want to write about Customized forms if I just could create Standalone Applications? For me the key reason is one scenario: When stakeholder, at least not all, does not have Office 365 licenses… Then only Customized forms are the option to use Power Apps.
The Customized forms of the Lists are for me one of the types of the Power Apps Canvas Applications. Customized forms name is taken from the Ribbon option:

When I will click Customize forms button, it will generate the Power Apps attached to the List.
For sure there is plenty, differences between Customized Forms and Standalone Applications, but I will touch only couple:
- First the SharePointIntegration (event if created as My list in OneDrive) is added:

- Second would be the fact that ALL Customized forms are created in a single environment, which might be quite troublesome from a Governance perspective… The default setting is your DEFAULT environment, but with single PowerShell you can change that (let me know if you would like to know how to do it).
- Third would be the fact that by default, you can use Customized forms only in List, as the New, View and Edit forms, but to this last point I would take a closer look and show you the options which you have.
Option 1 – Copy link
New item
The first and the easiest option is to copy item link, for either New or existing items. For instance, if I would click New form, next to the Save and Cancel options I can click Copy link button:
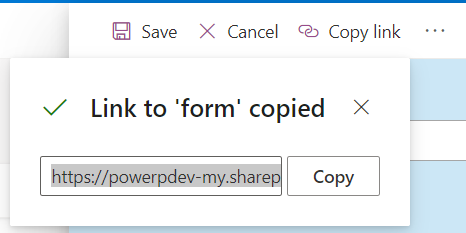
After using a copied link, I see a new page with the New item header:

Note: If I create a link to the item which is in List which is part of the SharePoint Online Team site it will keep the left navigation displayed.
View & Edit item
If I copied the link of an existing item, it displays:

The URL of the item after rendered looks as follows:
https://<<Tenant>>.sharepoint.com/sites/<<SiteName>>/Lists/<<ListName>>/DispForm.aspx?ID=1&pa=1Worth to notice is that URL contains the ID parameter and can be changed, so that means with the Power Automate I could send the link to the item directly to the Users.
I don’t know what is the pa parameter, if somebody knows that it would be awesome to learn.
I also notice that if DisplayForm.aspx would be changed to the EditForm.aspx item will be open in form in the edit state, which is also nice for automation. And if I’m writing about the automation, the link to item dynamic property in Power Automate will also behave in very similar way.
I know that this is not perfect, but for some business scenarios it should be worth to be considered.
Option 2 – Web parts
I was thinking, and the natural next option would be to try to use Power Apps Web part, but for that I would need to know the application ID or URL. How to get the ID or URL of the Application?
Get the ID or URL of the Application
Navigate to the List settings and click Form settings link:

Next click See versions and usage link, it will to the Power Apps details page, part of this page are of course the Application ID and URL.
Microsoft Power Apps web part
Knowing Application ID and URL the Power Apps web part can be easily used:

This method is nice when you want to create a custom landing page for New item form. For instance, process description or guide how to fill in the form on one side and on the another the Form itself:

Note: This method works only for the New Forms as the Microsoft Power Apps web part cannot work with dynamic parameters…
PnP enhanced Power Apps web part
Above limitation can be resolved with Enhanced Power Apps web part: GitHub – hugoabernier/react-enhanced-powerapps
Enhanced Power Apps web parts can work with the dynamic properties, for instance ID of the item can be passed in the URL and that value/parameter can be read from the application.
Option 3 – Application URL
The last option which came to my mind was to use URL, as described in the Get the ID or URL of Application after navigating to the Application details I just copy the web link.
With the Web link Form is open in the separate window, but it displays different from standalone App:
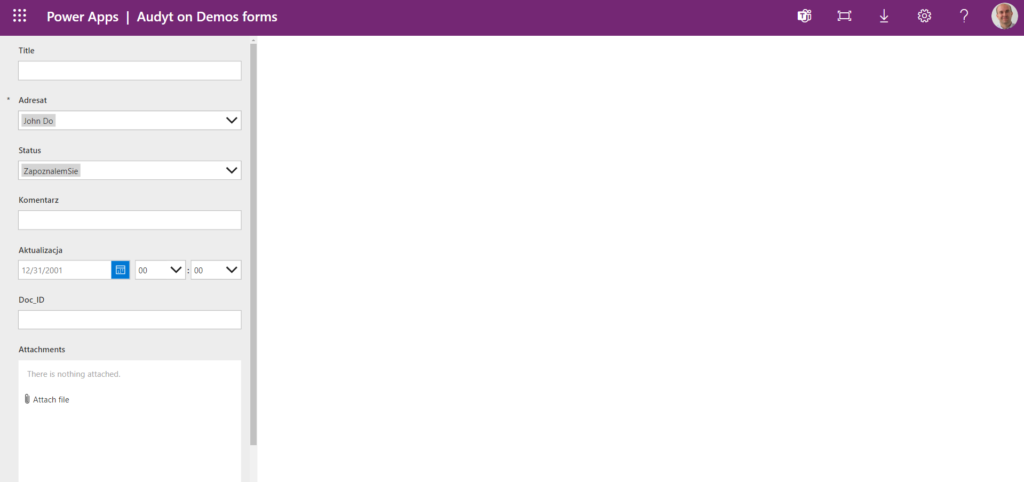
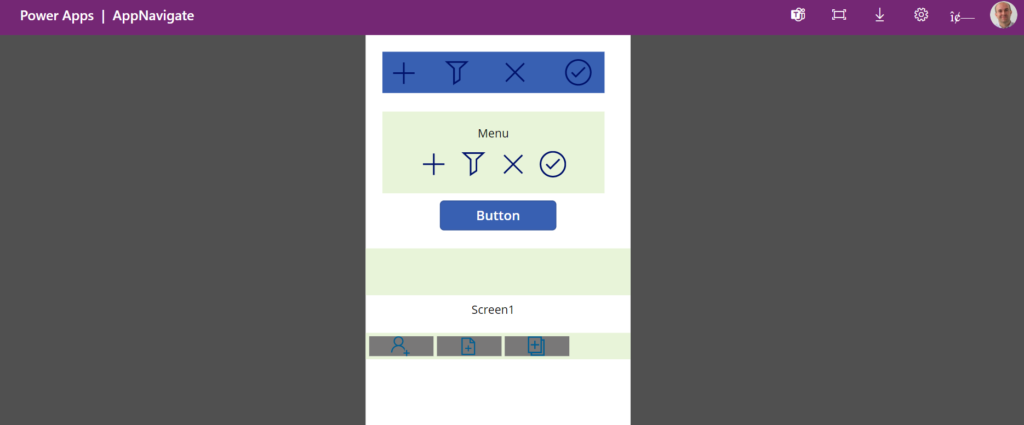
The Standalone App will display in the middle with a gray background, where the Customized Form will align to the left with the white background.
I like that in this approach I can add dynamic parameter and my Customized Form will be able to read that parameter.
Considerations & Limitations
I think for the full picture it is worth some considerations & limitations which I notice:
- Customized Form won’t show in Power Apps mobile App
- Customized forms are having the same set permissions as List connected with them
- For the Enhanced Power Apps scenario you need to have at least local App catalog created, so the deployment requires cooperation with the IT or high level of permissions
- Notice that when Ms Power Apps web part is used in the SharePoint page and that page is accessed from MS Teams first time it works but if you navigate back to the page App is not displaying (that is the same for Customized Forms and Standalone Applications)
Hints
I think to drop here couple hints which can help you achieve better results while working with Customized forms:
Hide nav bar
If you are working with the Option 3 it is good to hide the top Power Apps navigation bar. To achieve such result, just add to your URL following parameter:
&hideNavBar=trueResult:

Pass and work with parameters
I mentioned that a couple of times, that you can work with dynamic parameters. First part is to prep the URL with the additional parameter, like:
https://apps.powerapps.com/play/e/<<Env ID>>/a/<<Application ID>>?tenantId=<<tenantID>>&ID=1Then to use it in the Customized forms.
- OnStart of Application I need to add something like this:
With({pID:Param("ID")},
 If(!IsBlank(pID),
   With({valueID:Value(pID)},
     Set(itemID,LookUp(Audyt,ID=valueID));EditForm(SharePointForm1)
   ),Set(itemID,Blank())
 )
)
Basically I’m checking if the parameter of the ID is present and if it is I’m setting the variable to item with parameter ID.
- In the SharePointForm1 item property, just a small correction:
If(!IsBlank(itemID),itemID,IsBlank(SharePointIntegration.Selected) || IsEmpty(SharePointIntegration.Selected),First([@Audyt]),SharePointIntegration.Selected)Display form on bigger part of screen
As mentioned, Customized form is displayed aligned to the left to mitigate that slightly, I can do the following:
- Navigate to the settings and first change the orientation to Landscape
- Change Size to the Custom and type your own value
Note: Changes will mess up the form display, and it will result in adding scrollbars when the form is opened from default behavior.
Note: Yet, still will not display in the full window…


Summary
This will be it: “How to use Customized forms outside of Lists”. I hope all above will be useful and will give you food for thoughts. If you see any gaps, please let me know, and I will try to fill them. I know this blog is not bulletproof, but I still hope it will help some people to work with Customized forms better.
If you liked this blog, maybe you can check out: How to deal with Unsaved data in Power Apps Form